ブログ・お知らせ
生活動線改善リフォーム 収納を使いやすくするため開き戸を引き戸に変更 その2
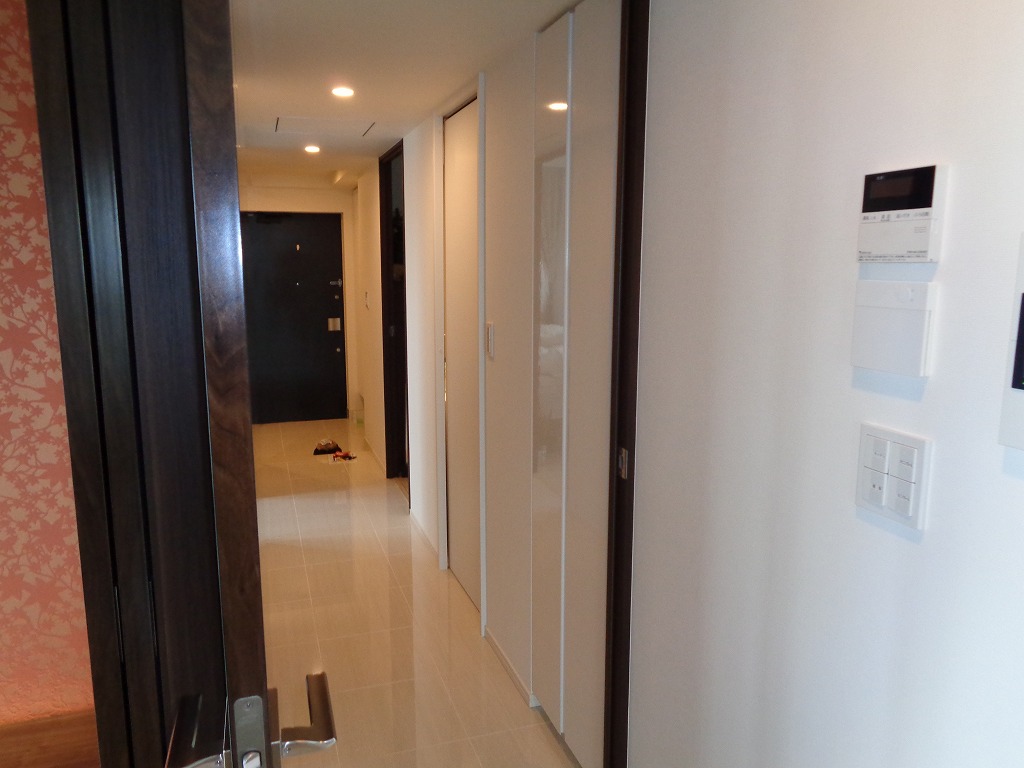
リフォーム前:平面図
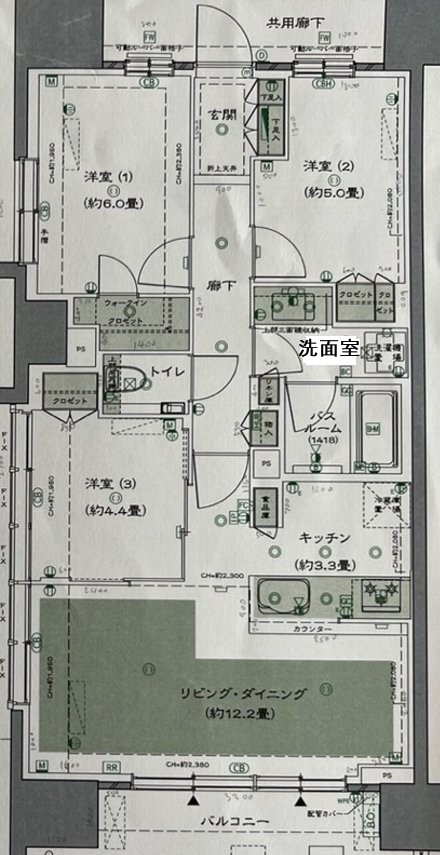

洗面室の内開き開き戸を引き戸に変更して、収納(リネン庫)を使いやすい動線に変えるリフォームです。
リフォームプラン:平面図
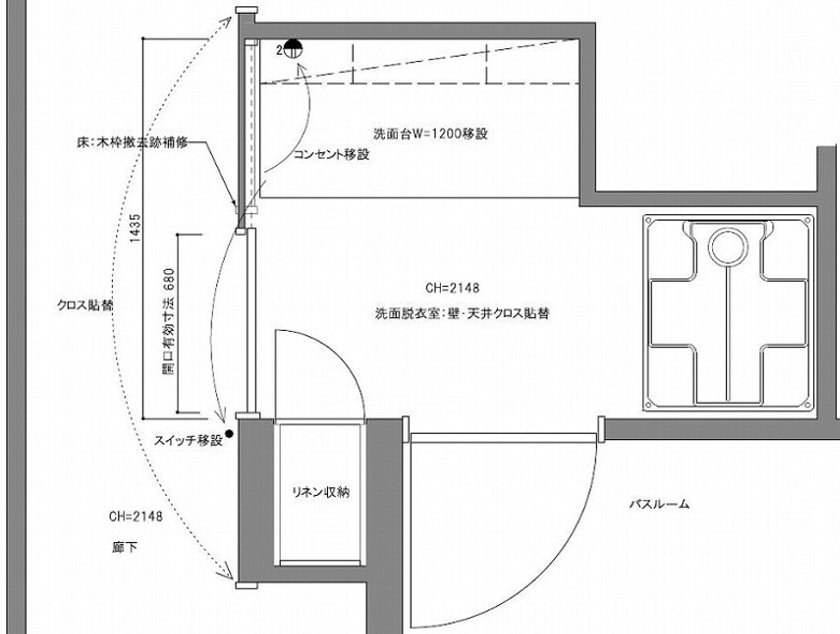
ここで問題が2つあり、1つ目は引き戸を設置するにあたり、壁厚70mm以上を確保しなければいけませんが、コーキング幅が15mmもあったことで、この問題は解決しました。
リフォーム前:洗面室入口床
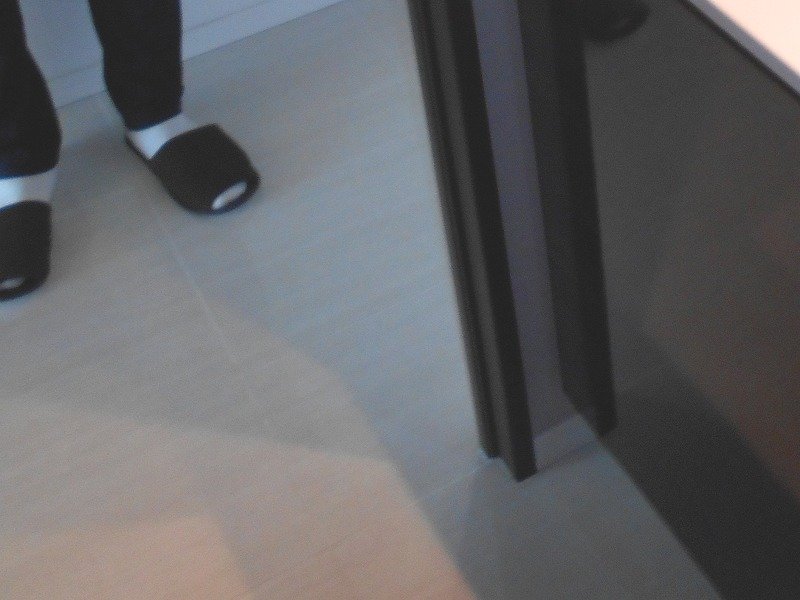
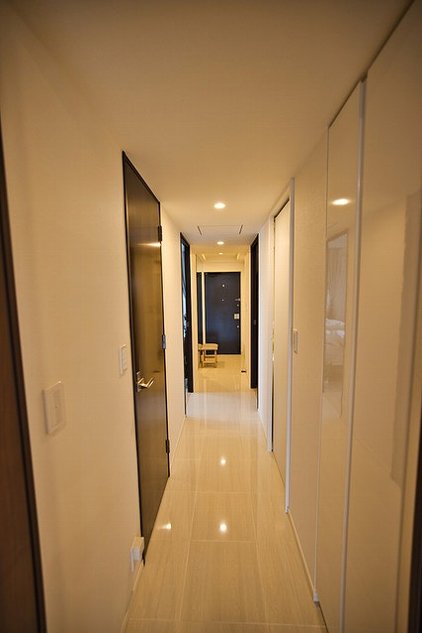
2つ目の問題は、廊下と洗面室の床が縁が切れていなく、廊下のタイルがそのまま洗面室に延びています。
開き戸の木枠の撤去跡の補修が必要ですし、引き戸を引き込む部分の床も見えてくるので、できれば同じタイルを張りたいものです。
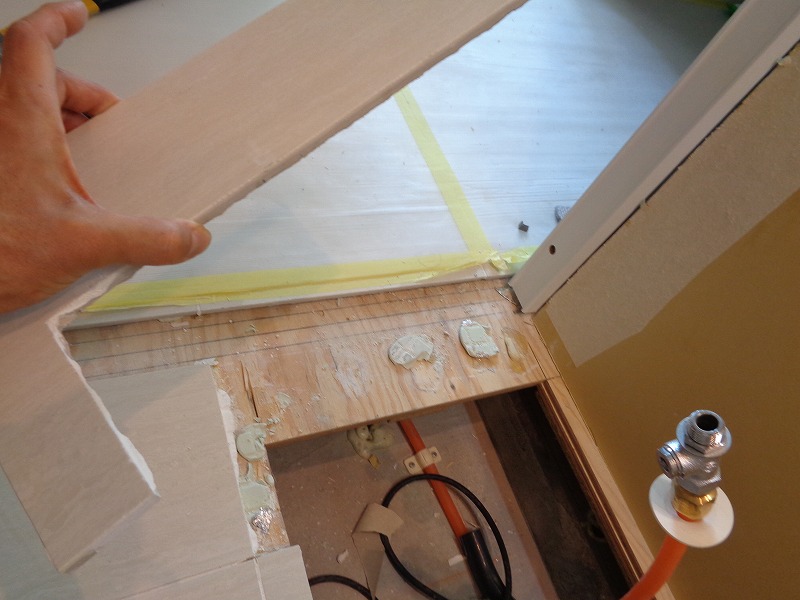
施工シーン1

開き戸と壁を撤去して、洗面台も取り外しました。
この撤去跡に同じタイルを張りたいと思います。
施工シーン2
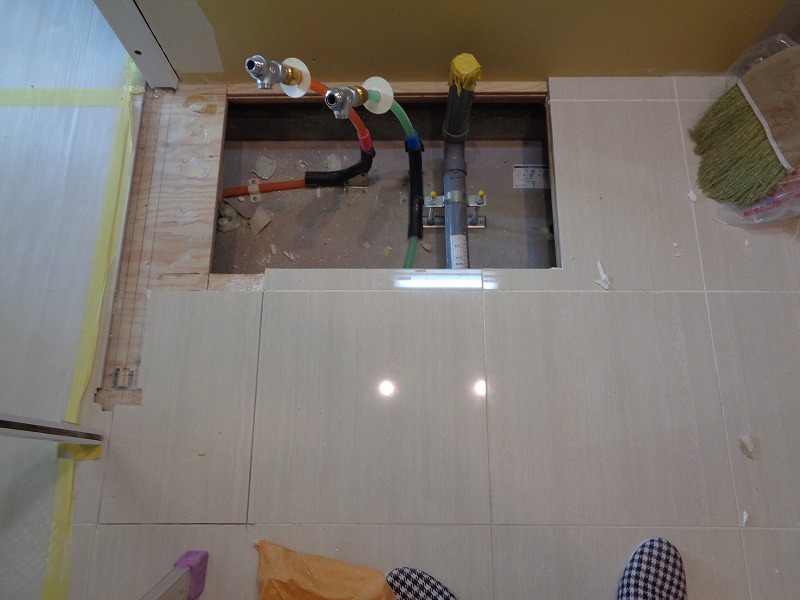
洗面台を再設置した際に、隠れる部分のタイルを割れないように慎重に剥がしました。
この作業がもっとも大変でしたね。
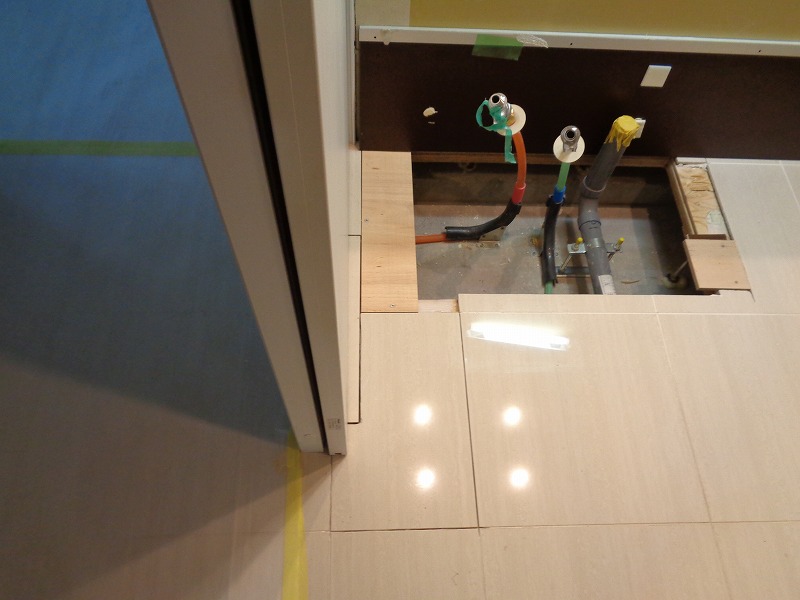
施工シーン3
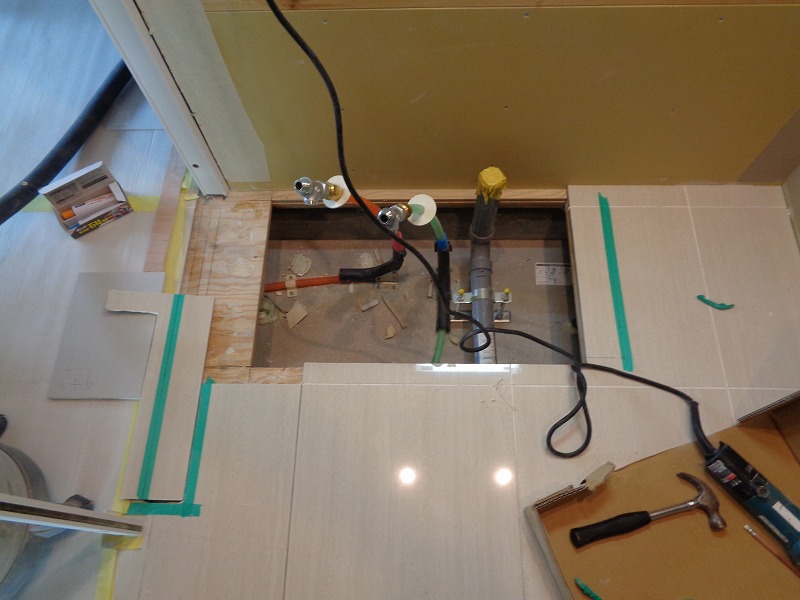
こんな感じで、剥がしたタイルをカットして貼っていきます。
施工シーン4
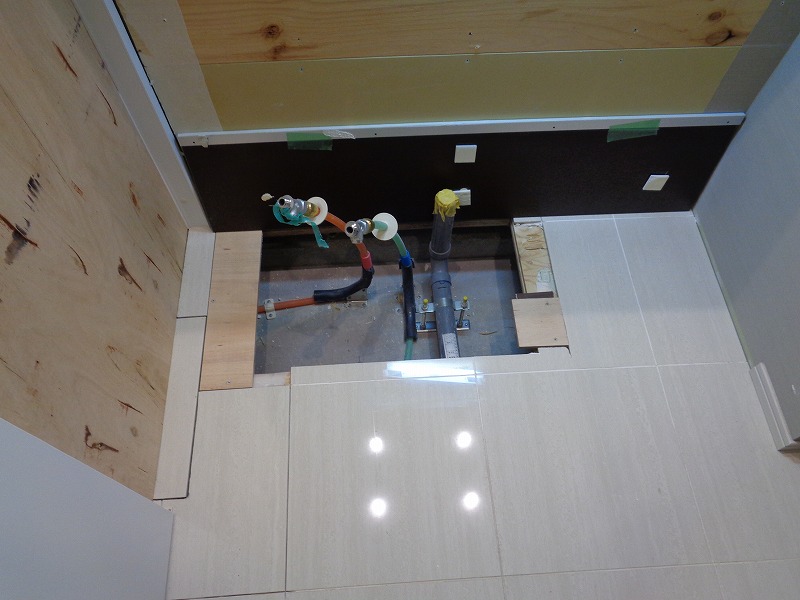
控え壁の造作も終わっています。
奥のタイルは、右側のタイルを一部剥がして移設しました。
ご覧のように、タイルの補修張りもきれいにできました。
こんなことをしてくれるリフォーム店は他にはありませんよ(笑)
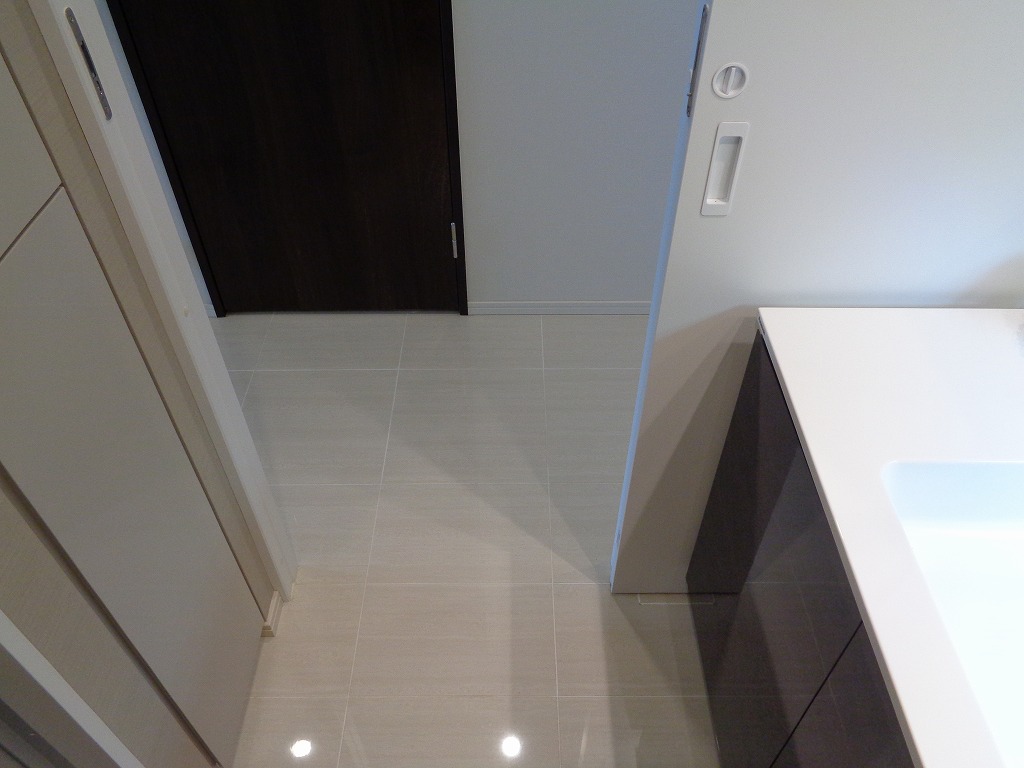
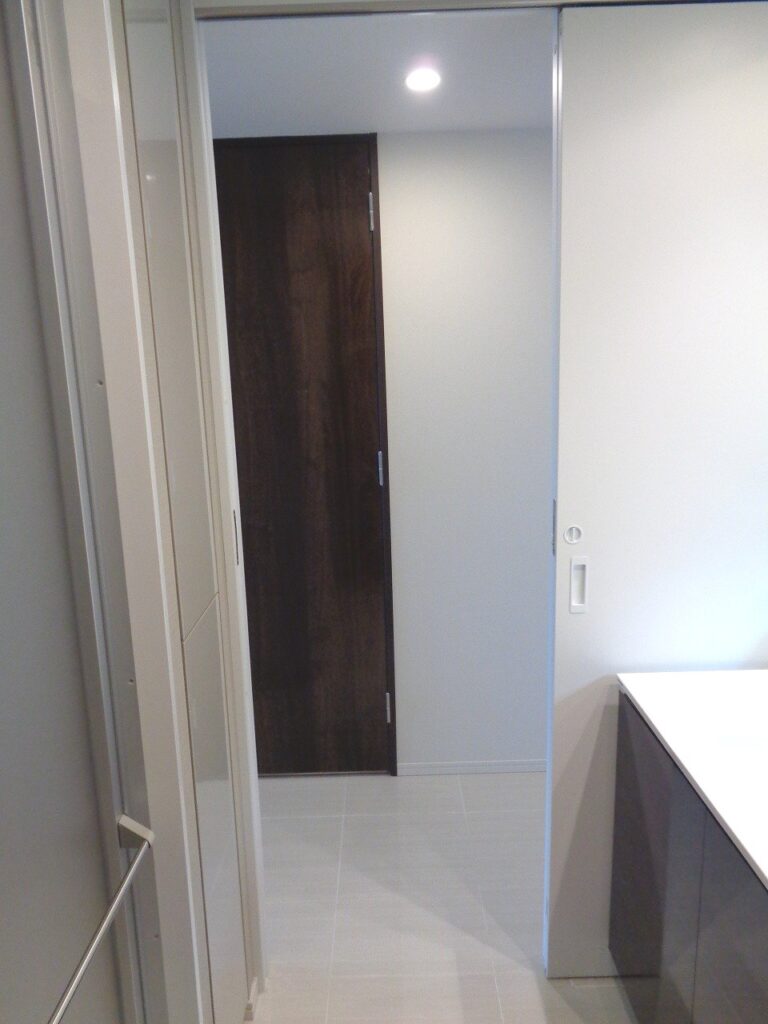
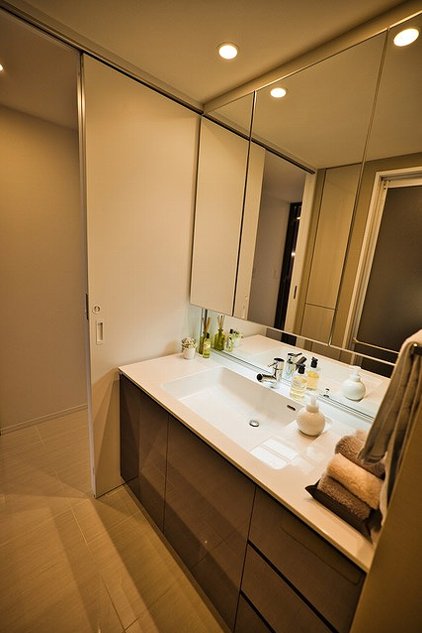
引き戸をしまい込んだら、こんな感じに見えます。
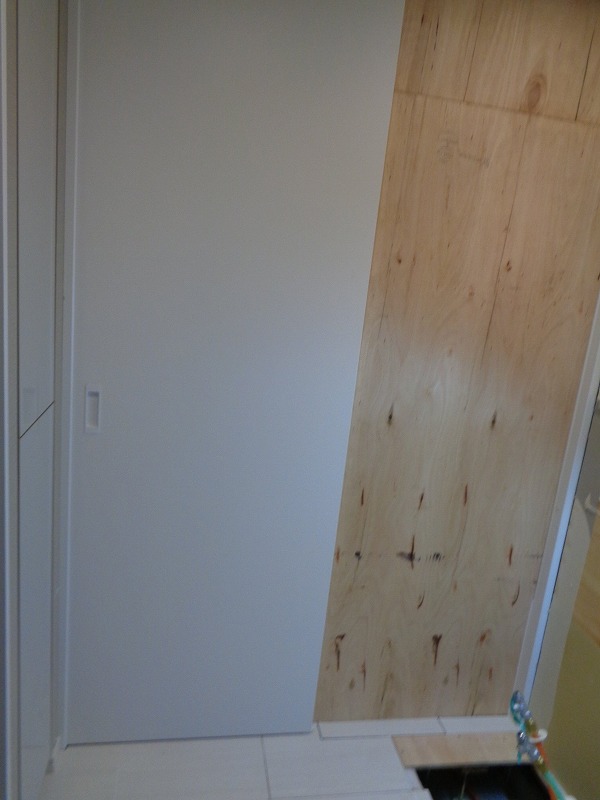
引き戸を閉めた場合と開けた場合の見え方です。
このあと洗面台がセットされるので、ここまでは見えてきませんが….
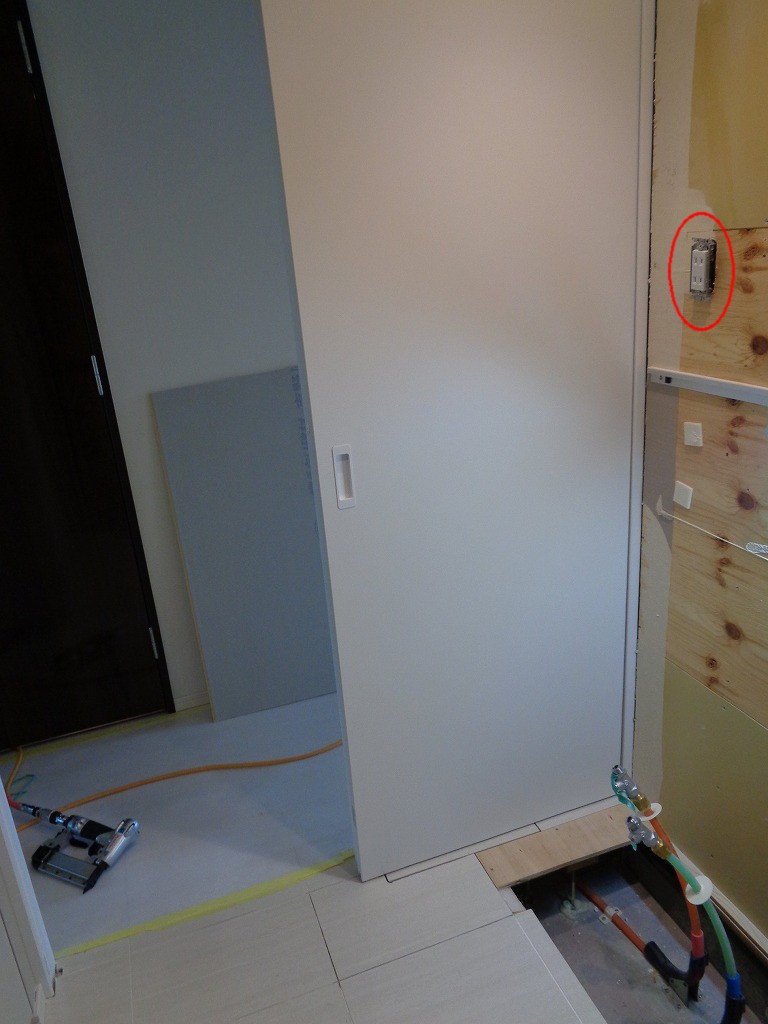
撤去した壁にあったコンセントは、正面の壁に移設しました。
リフォーム後
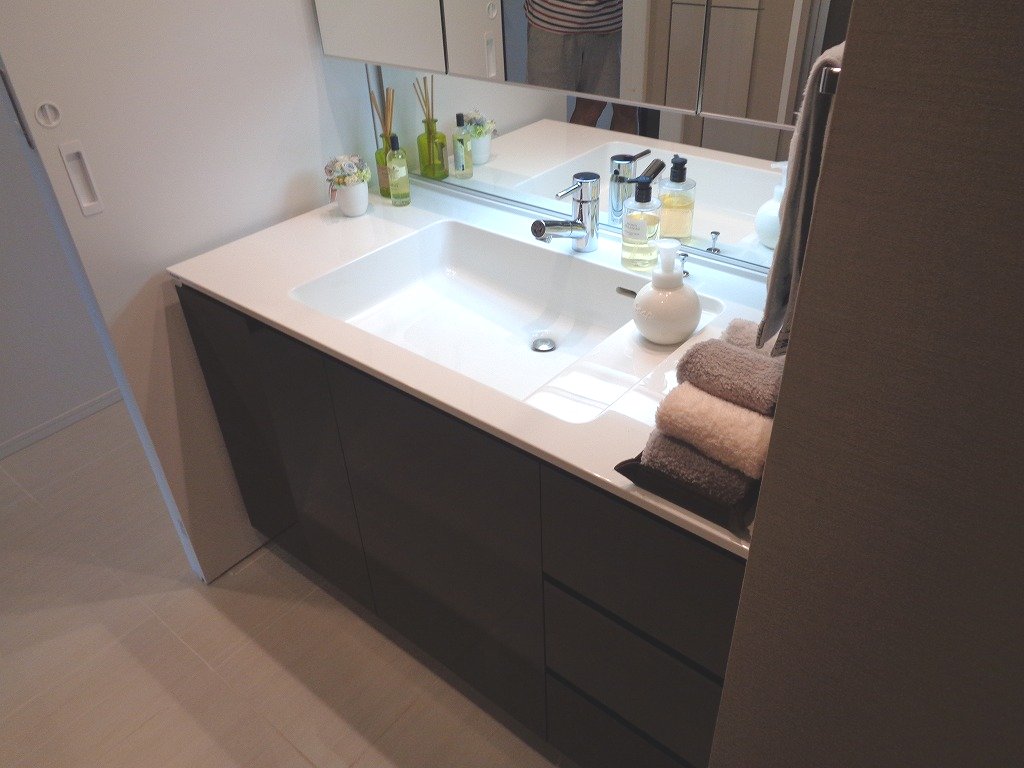
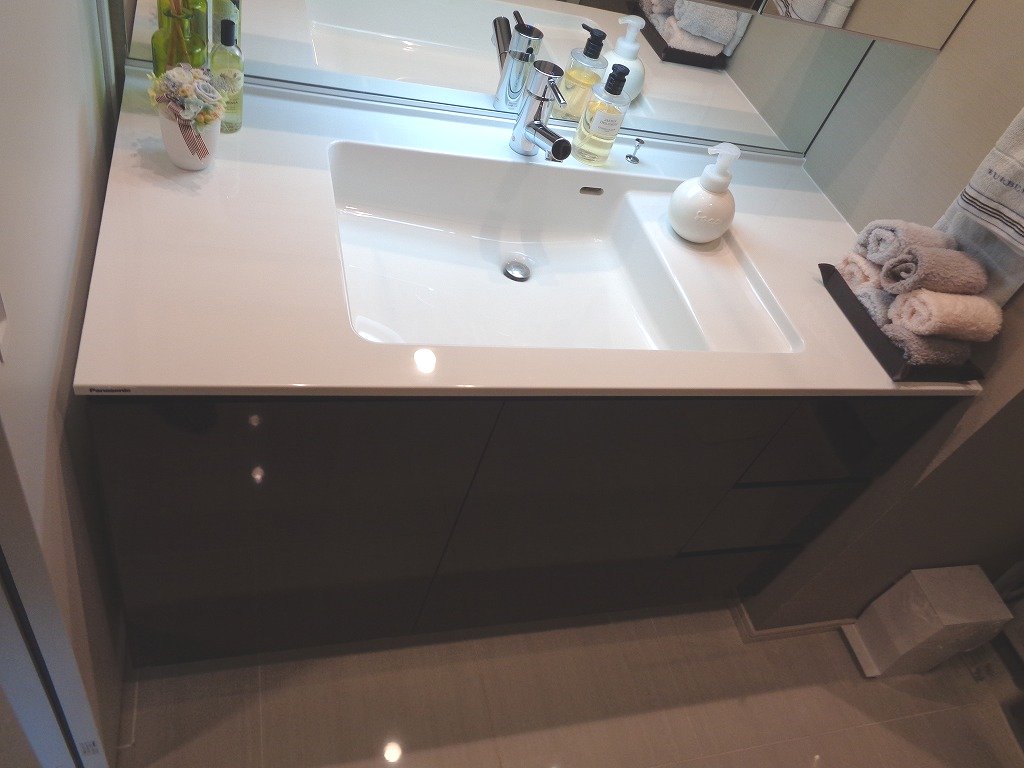

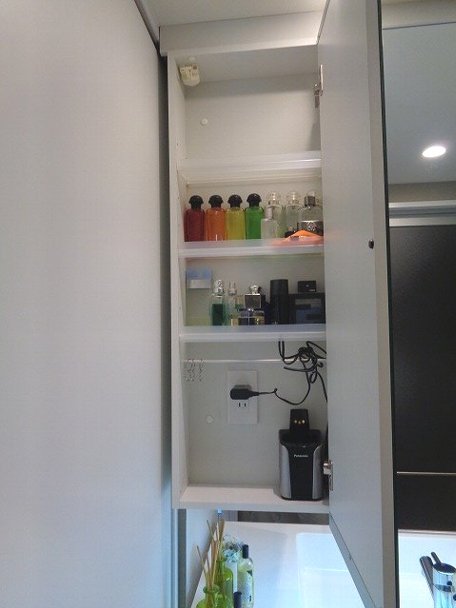
お客さまのご要望により、コンセントはミラーキャビネットの中に移設しました。
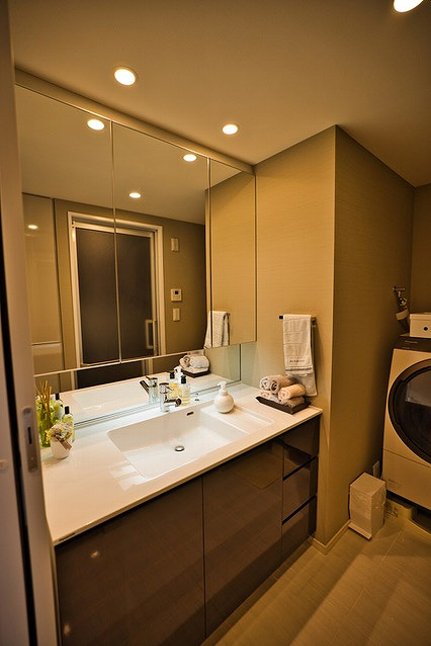
計画通りに洗面室の開き戸を引き戸に変更するリフォームが終了しました。
杉並区のリフォーム・リノベーションならアイネックスにお任せください!
リフォームのご相談は24時間受け付けています。小さな疑問・些細なお悩みでも、まずはお気軽に弊社にご連絡ください。お客様に最適なご提案をさせていただきます。下記からご相談お待ちしております!
・LINE問い合わせ:こちら
・メール問い合わせ:こちら